How-To Instructions
Learn More About the Process
If you have created your online Arcus profile and have received your molding box in the mail, you are probably wondering how to go about molding your foot correctly.
Please ensure both sides of your molding material were unharmed during shipment.
You will notice four top cover materials provided in the box. Please evaluate them and choose the one that you prefer. Keep in mind this material will be touching your skin or sock.
Before creating your mold, if you have a callus or other direct pressure point that you want to offload in your orthotic, please tape an accurately sized coin or object of depth to the bottom of your foot to indicate the location. After molding your foot, be sure to pronounce the site or sites to ensure our orthotic lab can properly customize the orthotic for you.
How to Mold Your Orthotic
- The first step to create your molding is to close the box envelopes and place them on the ground in front of your chair.
- Sit down on the chair.
- Before placing your feet on top of the box, have your knees directly on top of your ankle and foot at 90 degrees, and then angle your knees ever so slightly into a knock knee position.
- To properly align your feet, place both feet lightly on top of the molding box without applying pressure.
- Throughout the process it may help to lightly hold the box down with the opposite foot to prevent slippage.
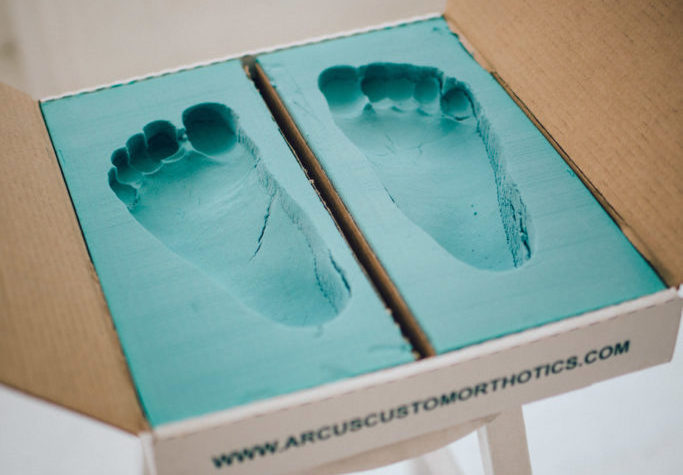
- Once you have ensured proper alignment, start by lifting either the left or right envelope of the box. Slowly and evenly press your foot down into the center of the foam molding material. *Note that you do not need to press your foot to the bottom of the box, only 1 inch is required so long as the entire bottom of the foot is imprinted. Do not worry if there are slight imperfections as we will be able to correct them.
- Close the side of the box for the foot you have completed, and repeat the process with the other foot.
- Once you have completed both molds, fold the box up and place the prepaid label onto the box, ensuring you don’t cover your personal ID number.
- Ship the box back to Arcus Orthotic’s central casting department so we can begin creating your custom foot orthotics.
- Before we receive your box, log back onto our website and finalize your profile. Please choose the orthotic need, top cover material, type of foot and your exact diagnosis or modifications. Include any additional information you feel is necessary so that we can provide you with a quality custom orthotic suited for your specific needs.
How To Use an Orthotic
If you have any discomfort or pain while wearing, remove the orthotics from your shoes and replace them the next day. We are changing the architecture and gait of your foot and it will take time for your body to adjust to your new Arcus normal. You’re now on your way to comfort and support, the Arcus way.
Remove the insole from your current shoes to allow for more room for your custom orthotics. This will also allow you to use the original sole for tracing purposes. Your new Arcus orthotic will now solely be controlling your heel position and arch height.
- Remove your Arcus orthotics from the bag.
- The Arcus orthotics are likely longer than your current insole so that you can customize the size to fit your shoe. If the orthotics are too long, you will need to trim the fronts down to size with a sharp scissor.
- We suggest to start slowly, leaving the Arcus orthotics a little longer so you don’t accidentally trim too much. You can always trim off more of the orthotic at the tip if it is too long or trim more on a certain edge to fit your shoe. Align them evenly back-to-back with original insole on top and either trace or just slowly cut along the border to have the length properly fitted. Repeat this process on the other side.
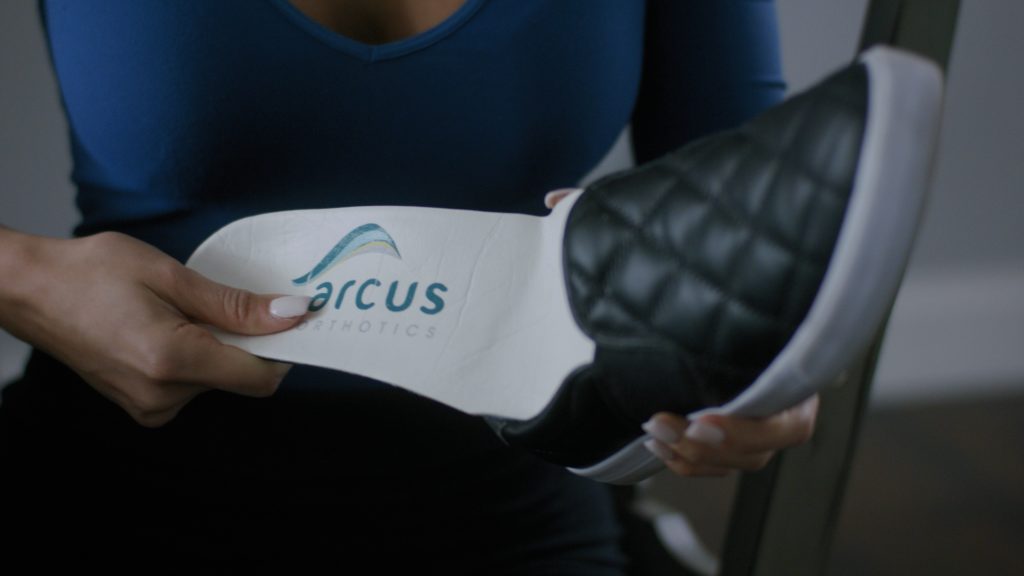
- Remove the insole from your desired shoe (dress shoe, sneaker, flats, heels) and replace them with your Arcus orthotics. Ensure the left is on the left, and right is on the right. They should fill out the front and back of your shoes and be flat throughout.
- Place your feet into the shoes.
- The most important step. Over the course of one week, gradually add 1-2 hours each day of wearing time each so that your arch and heel have time to slowly adjust to the correct Arcus position. Remember during the adjustment period, when the Arcus orthotic is in your shoe, the original insole is out, and when your original insole is in, the Arcus orthotic is out.